The obvious follow up to Painting in the Hyperbolic Plane and Symmetry Tile Painting in Blender is to do the same thing with my Penrose tilings.
The basic idea is very similar to that explained in the previous two tile painting posts. The Penrose tiling post explains how to generate the tilings. The only thing to do differently is to not use a Recalc Normals node. Flipping the normals before doing the UV unwrap messes up the symmetry. It takes a lot of work in the UV Image/Editor to rotate the UV map of the pentagons and stars to match the pattern correctly for the P1 penrose tiling. The P2 and P3 tilings are much easier
If you just want to avoid all this and just paint pretty patterns I've set up a blend file with a fixed copy of each of the three Penrose tiling types on a separate layer.
To use this:
- open the blend file
- choose oe of the layers
- change the layout to UV Editing
- with the tile pattern selected change into edit mode
- in the UV/Image Editor change to Paint mode
- choose a paint tool and draw on the image
- the tile pattern will update in real time
The first three layers already have images loaded into the UV Map. These draw circular arcs on the faces that show how the tiles match up. These can be used as a guide for painting or can be drawn over. Any other image, can of course, be loaded up instead. Move the whole UV map over an image for kaleidoscope effects.
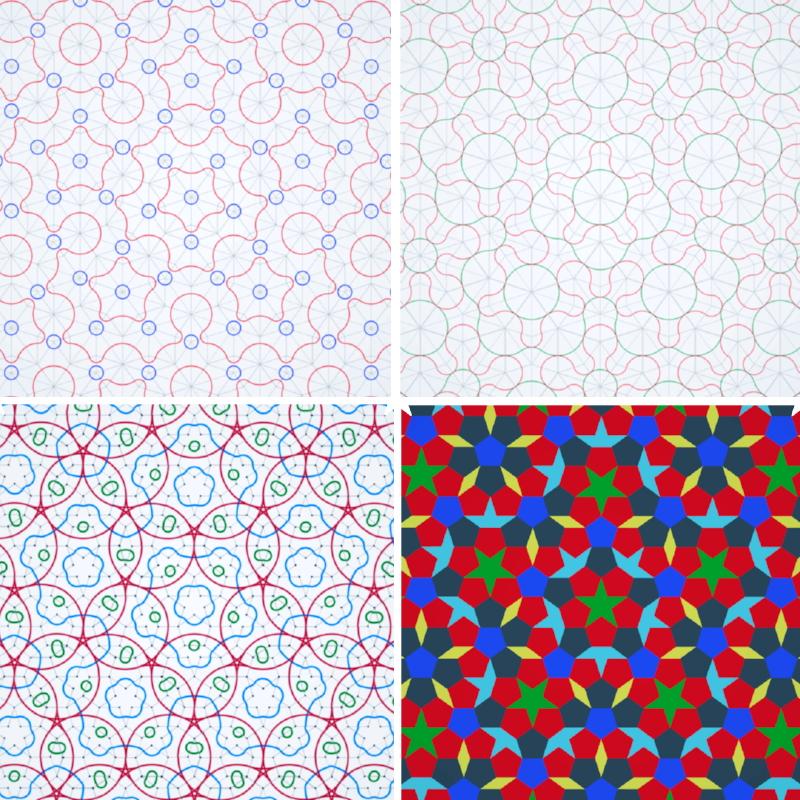
The fourth layer contains the P1 pattern of pentagons, stars, boats and triangles with each shape given a different material. There are three different types of pentagon in the tiling. They're are different because they match differently against neighboring tiles. Each type of pentagon has is given its own color.
Symmetry tile painting might be well away from Blender's intended use as a 3D program but its the most flexible program I've found for doing this. I'd also like to try symmetry tile painting on 3D spheres...