A nice side effect of using the auto save add-on is that if you render often you effortlessly have a record of the progress of your scene towards the final image. These saved images can be collected up into an animation.
I'm going to describe how to do it as an animated GIF using GIMP. GIFs are well supported on the web but have indexed color so they tend to end up with visible lines between colors in areas of the image where there should be smooth gradients. There are alternatives to GIFs that don't have this problem some of which are discussed here on stackoverflow. Otherwise make a standard video animation from the still images using programs like Kdenlive or openshot.
Using GIMP to make an animated GIF from still images
Open up GIMP and use File > Open as Layers to get a file dialog box. Select all the image files in your auto-saves folder and import them into GIMP. All images used should have the same dimensions. In the Layers dialog check all the files are in the right order. The first image comes from the bottom of the dialog and the last from the top.
Choose Filters > Animation > Optimize (for GIF). This will produce a new GIMP file. In this file each of the layers has been reworked to only include the parts that differ from the previous image. The rest of that layer is set to transparent to allow earlier images to show through. This reduces the file size.
The layers have been renamed to something like walkways_ivy_015.png(100ms)(combine) The first set of brackets contains the length of time the image will be displayed. These can be individually edited by selecting Edit Layer Attributes from the right click menu. To set them all at once you need to change the default which as far as I can tell is only available from the export dialog. Choose File > Export as.. and set GIF as the format. In the Export Image as GIF dialog, select as animation and set Delay between frames to the desired value. I used 500 ms in the following GIF. Also select Use delay above for all frames. Export the GIF and its done.
I wanted to set the final image in the GIF to a longer display time than the others. To do this open the GIF file back into GIMP and change the delay in the layer attribute as above and re-export. I used 2000 ms.
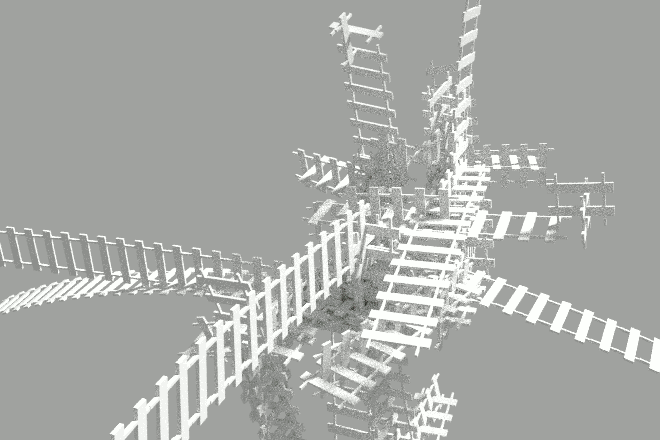
The sequence above shows the texturing and lighting for a scene. The geometry was developed using my Generative Art node for Sverchok. Also used is the Ivy Gen add-on included with Blender.