Here are a quick couple of experiments with the Blender Ivy Gen addon. Its included with Blender and only has to be activated from the User Preferences dialog.
I was interested (as always) in doing something more abstract and less realistic with the Ivy Gen addon. The addon is based on Thomas Luft's stand alone Ivy Generator. It's a procedural system and can produce some very realistic ivy and similar climbing plants. There is a little documentation on the effects of the parameters (read The descriptions) but changing each one by a small amount and updating the ivy quickly gives an idea of their effect. For more info I found this cgcookie video (setting descriptions start about 5 minutes in) and especially the comment below it by Nick Van den Broeck helpful.
Primary weight determines if the branch will continue in the same direction. Random weight will make it turn away. Gravity weight will pull everything down (but you will have to set it beyond 2 or 3 in order to actually see things go down). Adhesion weight will make things turn back towards the wall. Max Adhesions length will determine the region of effect of Adhesion weight. And Max Float length will determine how long a branch will survive once it gets outside of the adhesions length region.
I'm trying to push the output away from climbing plants but haven't got as far away as I'd like.
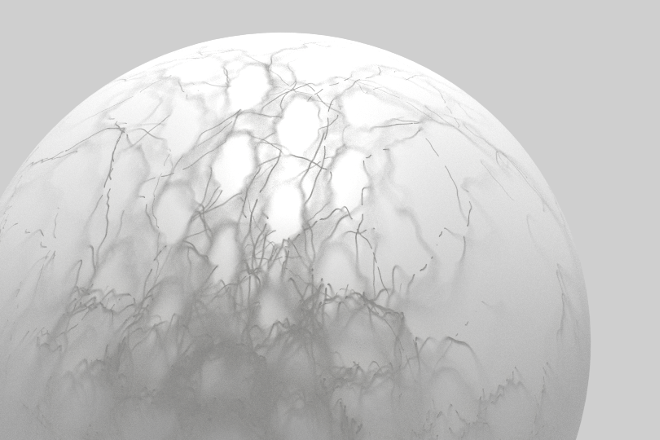
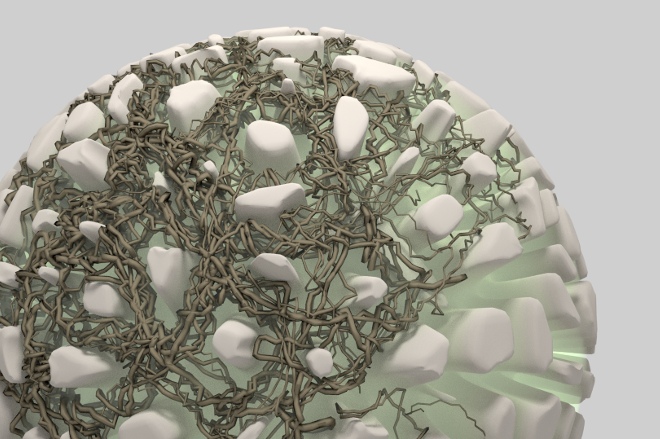
In the meantime here are my tests. In the top image the ivy was grown (with no leaves) over a spherical wireframe that isn't included in the image. The image below is the same render with the Ray Visibility for the ivy turned off so only the shadows remain. The last image is similar to the first with some more sculpting around the supporting sphere.

