The animal body can be visualized as a three-dimensional jigsaw puzzle, made up of distinct, interlocking pieces. These pieces all have very specific volumes that begin and end at very specific places.1
I'm teaching myself a little more animal anatomy to help with creating digital creatures. I've worked in clay making gargoyles and dragons and I'm interested in doing similar pieces in Blender. Understanding the shape and form of real animals is a great help in making up believable unreal creatures.
Evolution has given all animals (at least the tetra-pods - mammals, reptiles, birds and amphibians) a pretty common body plan. Four feet, a head, a body and maybe a tail. To sculpt better I'd like to understand what's in common and how the volume and form of the parts of the body plan vary between different creatures. I want to work at this general conceptual level before spending time on high resolution sculpting.
In drawing, painting, and sculpting animals, one must begin with a general, understanding of the entire animal (shape, proportion), then concentrate on its specific parts and details. This is called working from the general to the specific. For example, rough-out the shape of the entire animal first, define the shapes of the torso, the individual limbs, the head, and the neck, and then finally add the details of the individual muscles and tendons. Artwork can be embellished with the most numerous of details, but it must conform to a greater concept of larger shapes and volumes.2
As an exercise I roughed out the regional volumes of the "generalized animal" from Eliot Goldfinger's book 3 as low polygon meshes in Blender. I used the photos and diagrams of the generalized animal from the side and top as background images in the 3D View and modeled the volumes over them.
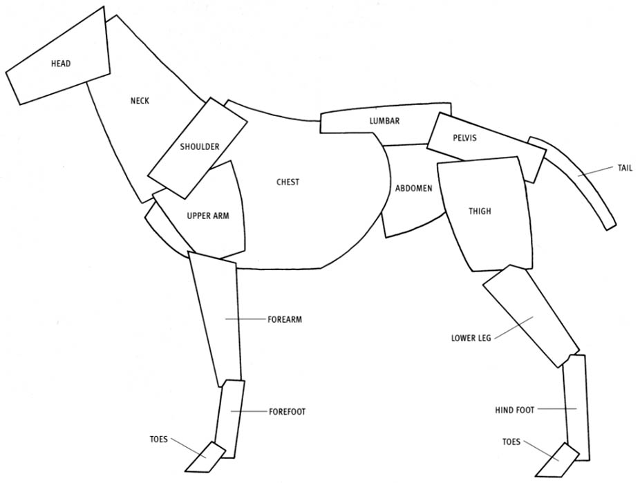
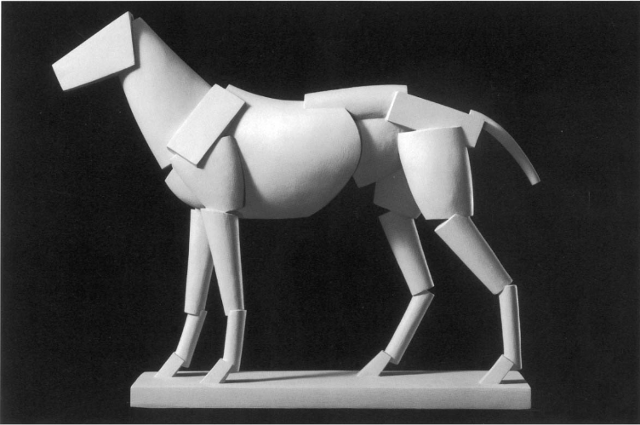
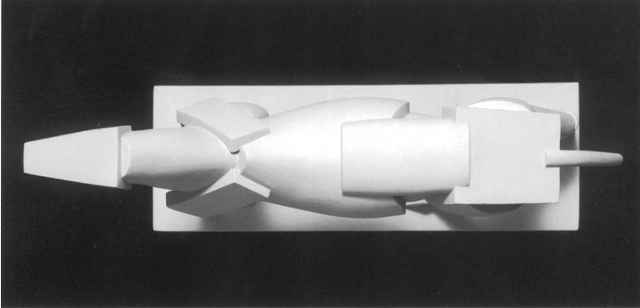
Each volume started as either a cube or a eight sided cylinder. I added edge loops as needed but tried to add as few faces as possible. I used the Edit Mode -> Tools Panel -> Mesh Options -> X Mirror option to set the editing on each of the volumes on the body centerline (the head, neck, chest etc.) to be symmetric. This option only works across the x-axis, so make the animal's main head to tail axis along the y-axis. For the limbs, start with a mesh centered on the y-axis, add a Mirror Modifier, then in edit mode move all the vertices off the centerline. Apply the modifier and then select the X Mirror option as for the other body parts. Using the X Mirror option is necessary as the Mirror Modifier doesn't work with Shape Keys.
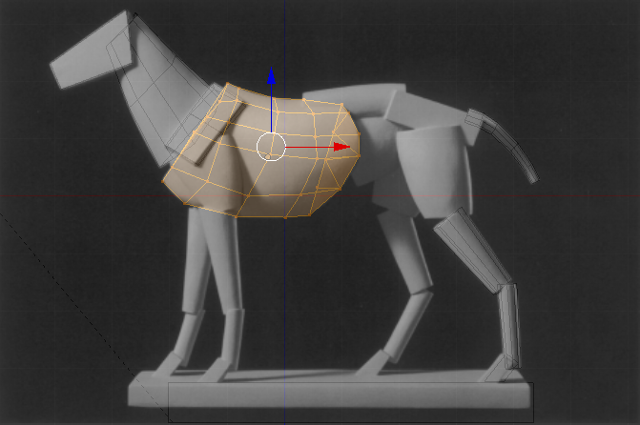
Here's the body mesh being modeled over the background image.
The completed body volumes for the generalized animal.
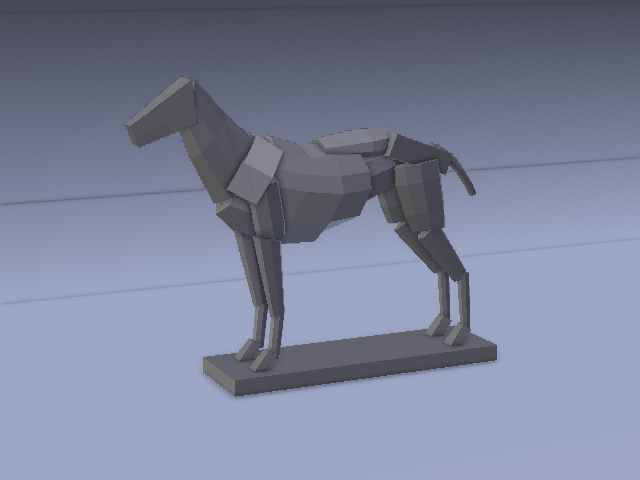
My rendered version of the completed basic animal.
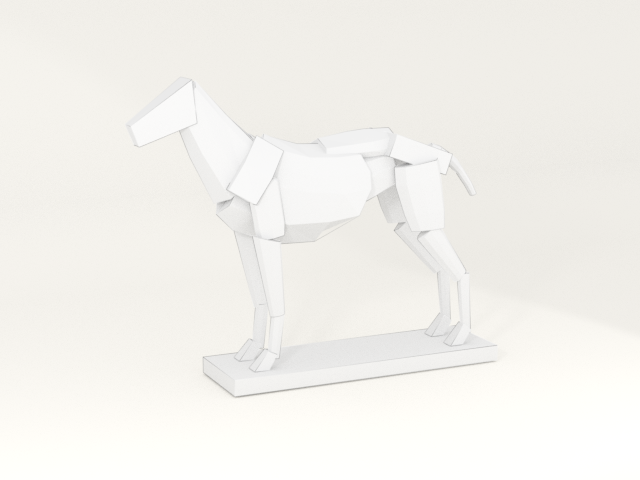
I then added Shape Keys to each mesh and then altered the volumes to match the form of a horse using the horse diagrams and images from the book.
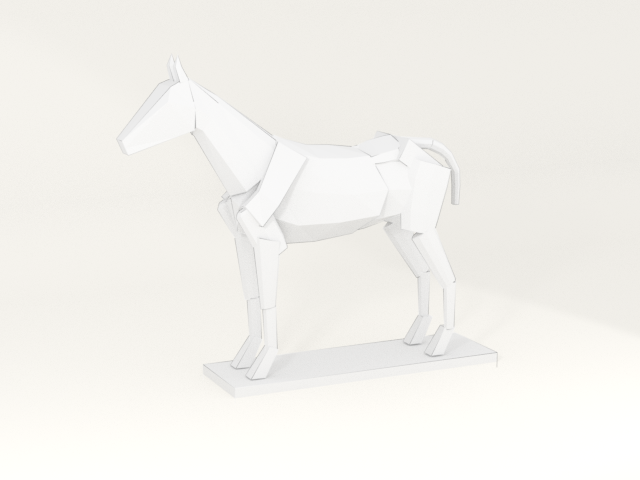
I then repeated this exercise modifying the basic animal to resemble a dog (see the image at the top).
Here's my animated sequence showing first all the volumes changing from the generalized animal to a horse and back again. Then each volume changing in sequence. Then finally changing into a dog.
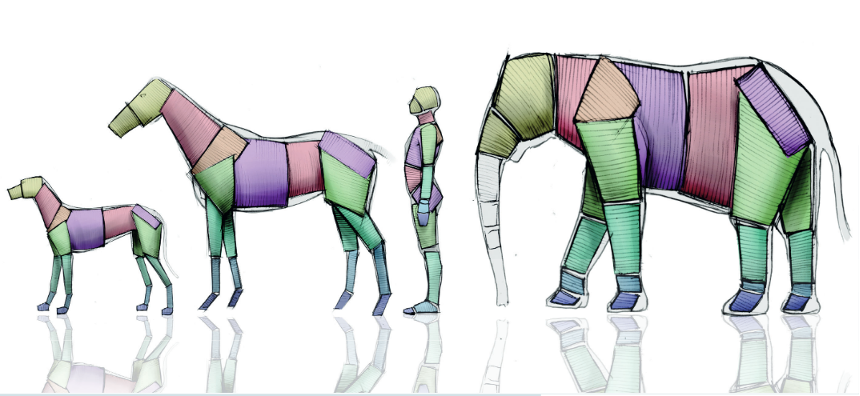
When I'm learning something I always like to collect several references to see how different authors approach something. Here is Scott Eaton's take on the varying body volumes for different animals. The exact number and placing of the volumes is a little different but the general idea is the same. The full article this is taken from is available here
-
Goldfinger, Eliot. Animal Anatomy for Artists: The Elements of Form. Oxford University Press, 2004. ↩
-
Goldfinger, Eliot. Animal Anatomy for Artists: The Elements of Form. Oxford University Press, 2004. ↩
-
Goldfinger, Eliot. Animal Anatomy for Artists: The Elements of Form. Oxford University Press, 2004. ↩